Sending attachments
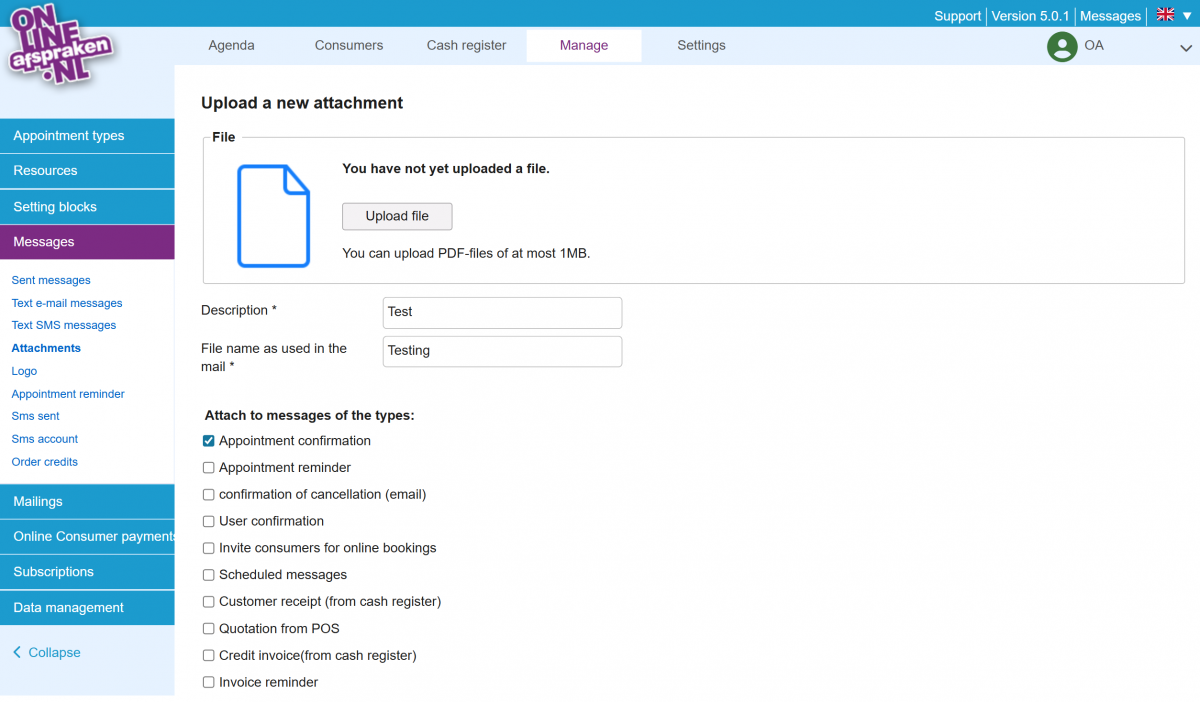
It is possible to send automatic messages with attachment(s). For example, include an attachment with the appointment confirmation. In the backend, go to Manage > Messages > Attachments and click ‘Add Attachment’. Upload the attachment and provide a description and file name for the attachment. Then select with which messages this attachment should be sent.
Image
Pro package
In the Pro package, it is possible to select with which messages the attachment(s) should be sent. Go to the relevant appointment type via Manage > Appointment Types and click edit (pencil icon). Then go to the ‘Messages’ tab, click ‘Activate’ and indicate for the relevant variant which message should be sent and which attachment(s). Then click save at the bottom.