Appointment confirmation
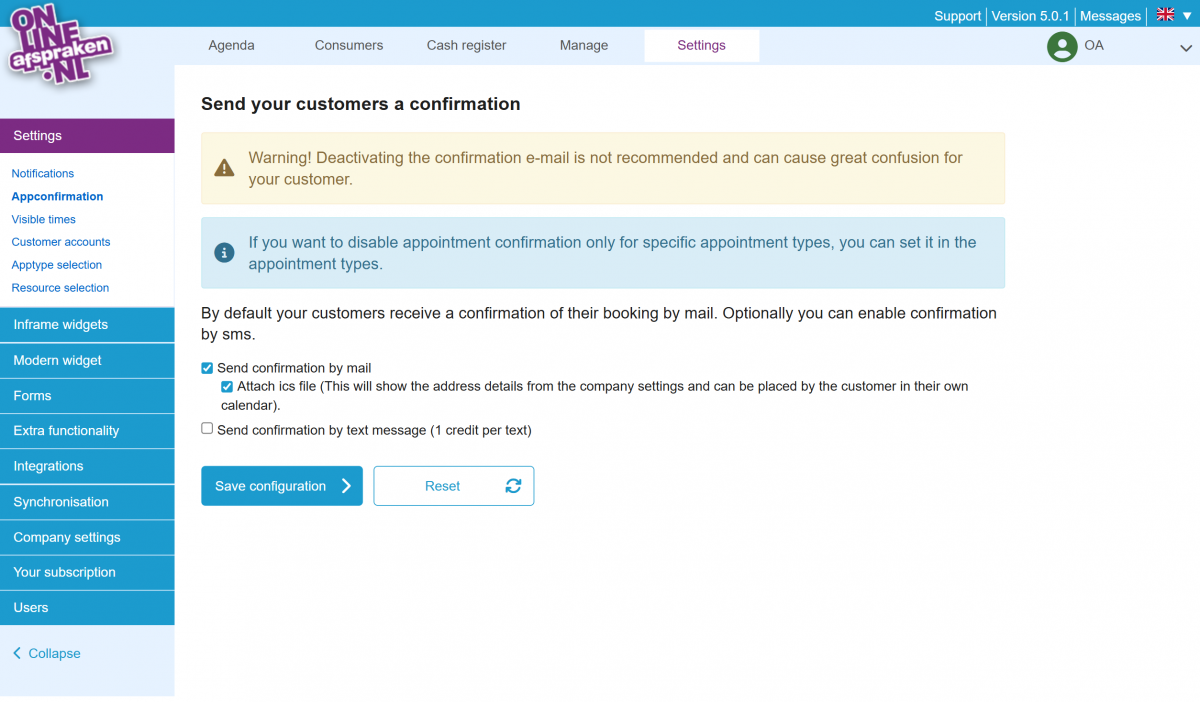
In OnlineAfspraken.nl, it is standard functionality that customers immediately receive an appointment confirmation by email when they book an appointment. To set up the automatic appointment confirmation, go to Settings > Appointment Confirmation in the backend. However, this is enabled by default, so you only need to go there if you want to disable it, for example. Of course, we advise against doing so. By default, an .ics file is also attached. You can also choose not to include the ICS file. An ICS file is a calendar file that allows the appointment to be added directly to Microsoft Outlook, Apple iCalendar, or Google Calendar.
Note: The .ics file always communicates only with the address set under Settings > Company Settings. If no address is set there or if you have multiple locations, you can, for example, set “see address in the email” or disable the .ics file.
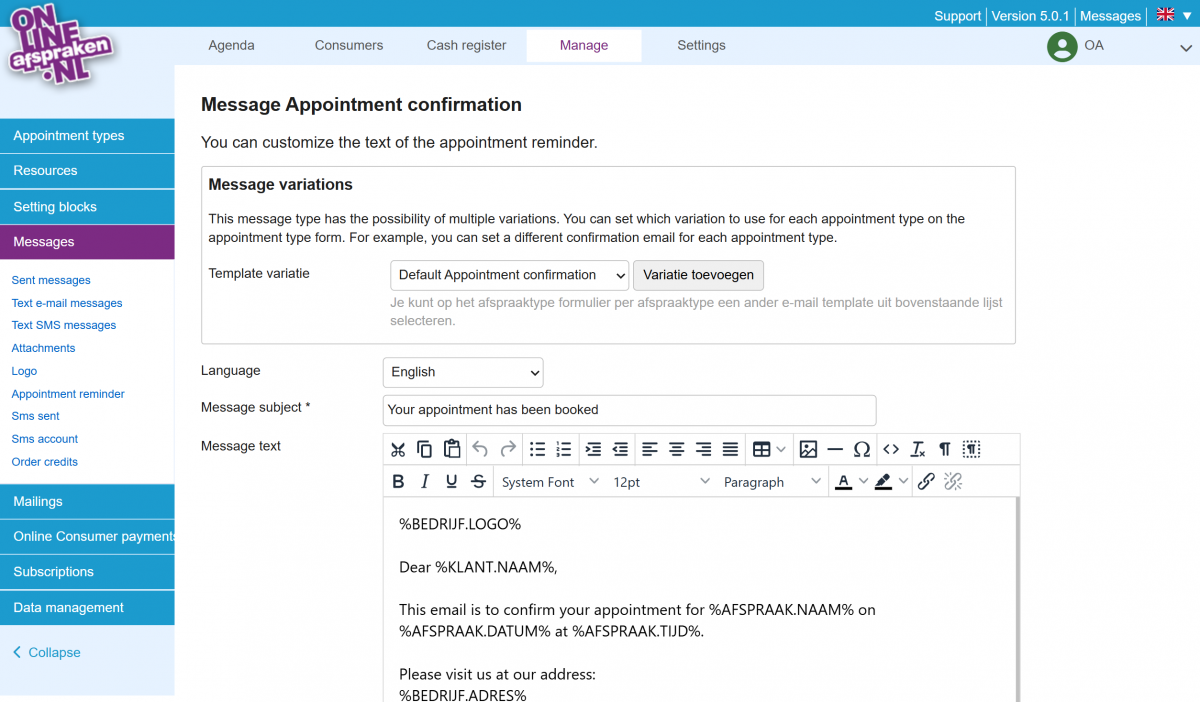
To edit the text of the appointment confirmation, go to Manage > Messages > Text E-mailmessages. Then click edit (the pencil icon) next to the appointment confirmation. A standard text template has been created, but you can fully modify it to your liking. The variables listed below the text can be added to personalize the message. In the list of variables, you can see which data each variable generates.
Different mailtemplates
Starting from the Pro package, it is also possible to create different templates for appointment confirmations, reminders, and cancellations. When editing the relevant message, you can create multiple variations. This allows you to send a separate message for each appointment type.
To link a template to an appointment type, go to Manage > Appointment Types and click edit (the pencil icon) next to the relevant appointment type. Under the ‘Messages’ tab, you can click ‘Activate’ and select the correct variation from the list.