Lay-out booking widget
You can easily customize the booking widget on your own website to match your branding.
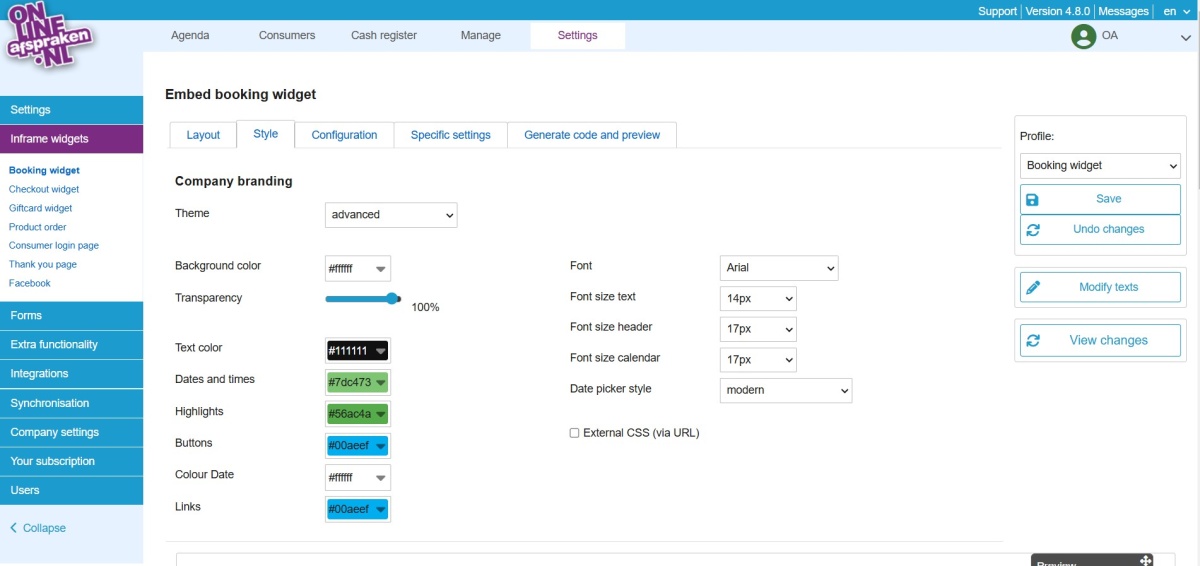
Go to Settings > Widgets Integration > Booking Widget. Under the "Layout" tab, you can select the desired display format for the booking widget. Under the "Design" tab, you can change the font style and size. The colors can also be adjusted here; you can modify the background color, text color, dates and times, highlights, buttons, links, and transparency.
If needed, you can change the text within the booking widget. To do this, click on the "Customize Text" button on the right. You can modify the text directly in the example widget below or via advanced text management by searching for the text and entering a custom message. After making changes, click "Preview Changes" on the right and then "Save." Go to Generate Code and Preview.
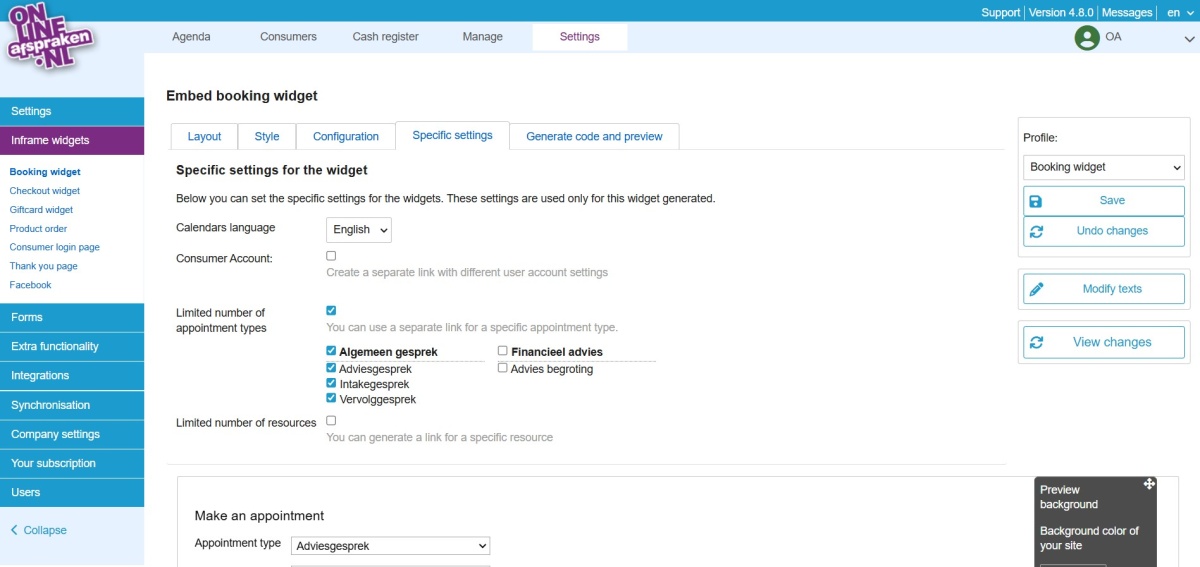
Profile widget
It is possible to save different profiles of the booking widget (top right under the save icon). By default, the "Booking Widget" profile is selected. This is the general profile, and specific settings cannot be applied here. The "Backend Widget" is the booking widget you, as a company, see when you create an appointment in the Calendar.
You can add your own configuration, for example, a widget for a specific page or resource. To do this, add a configuration and give it a name. In this separate configuration, go to the "Specific Settings" tab. There, you can check "specific appointment types" and/or "specific resources." Then, click "Preview Changes" on the right. If the configuration is as desired, save it on the right. Go to "Generate Code and Preview" to find the specific integration code or link to this separate widget.